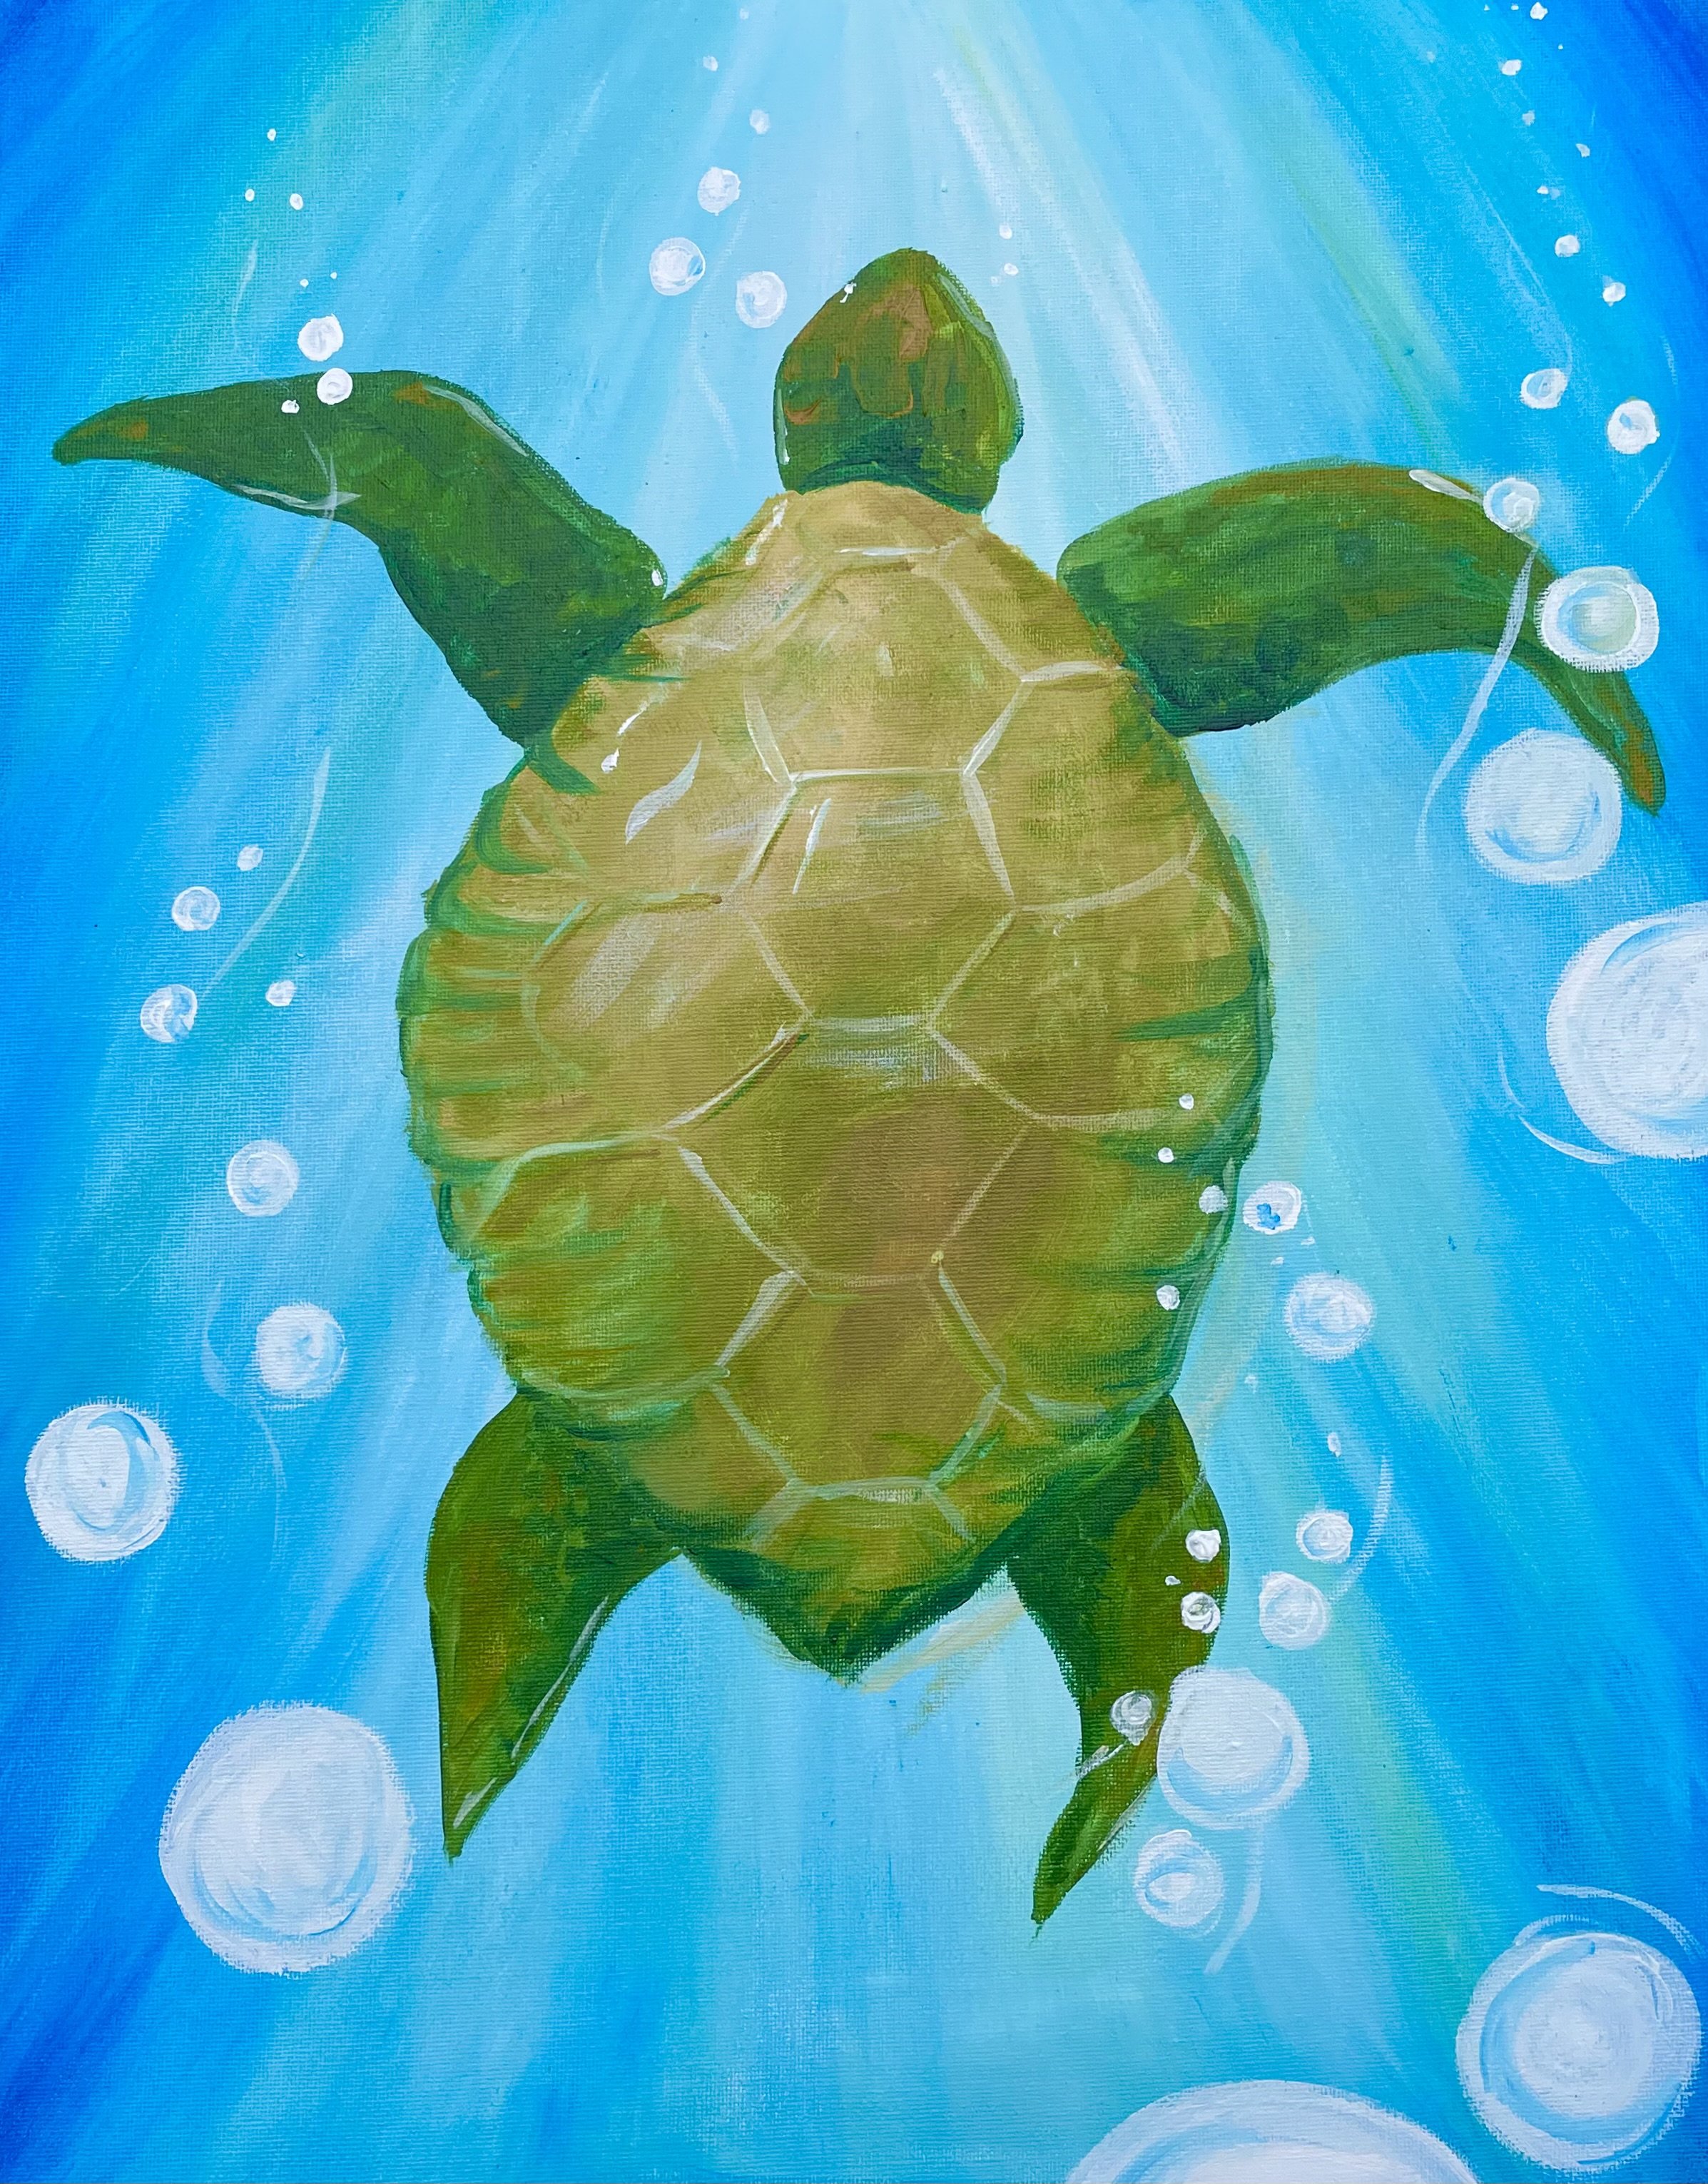
TURTLE
TURTLE
Welcome to Josie’s Butterfly Painting Tutorial! 🦋
Welcome to the Turtle Painting Instructions page, where you'll learn to create a serene underwater masterpiece! Immerse yourself in the art of painting as you follow step-by-step guidance to recreate this charming turtle-themed artwork.
Feel free to adapt these instructions as needed during your painting session. Change up the colours, add extra details—whatever makes it yours! Have fun exploring different techniques and creating your underwater masterpiece! 🎨
Set up
After following our set up guide here, you’ll need these paint colours: green, blue, white, brown, and yellow. But don’t hesitate to mix things up if inspiration strikes - we love to see those hot pink turtles :)
Step 1: Mapping
To map out the turtle shell, sketch a circle in the middle of the canvas. This circle’s width should be about a third of the width of the canvas.
Then, Mark points on each side, and top of bottom of the circle. Use these points to extend the shell into a diamond shape.
TIP: use thin, watered down paint for this step, so you can make mistakes, change up the shape, paint anything you want underneath, without the markings coming through in the final painting :)
Step 2: Background
It’s all about blending!
Fill in your watery background with a combination of white and blue, with long brushstrokes. I highly recommend using watered-down, thin paint. This reduces drying time, helps you get between blending, and gives an apt watery-effect.
Paint the lower and the sides more blue and the top centre more white. Using a clean brush, gently and quickly brush over the borders between the different colours. You should begin to see a subtle gradient forming.
OPTIONAL STEP: paint the edges all the way around the sides and the top of the canvas
Step 2B: Optional Greenery
Blend in some yellow/green streaks to add some more depth and life
Step 3: Colour in the Shell
Fill the oval shape with a mix of brown, white, and yellow paint.
Try to create a textured surface to mimic the rocky texture of the turtle's back. For those feeling adventurous, add some white highlights by blending in white paint.
For painting anything natural, I always recommend letting the edges and lines be beautifully imperfect. In particular here, that means letting the edges of the shell be rocky and wonky. It’ll give your turtle character and life. A painting tip I have here is that I find my lines are rockier and wonkier when I go slow with my brushstrokes, because my hand can’t stay steady for that long, so it creates wonderful organic forms :)
Step 4: Legs and Head
Draw squares to start off the legs and head of the turtle. Then, draw triangles on top of the squares. Then, colour in these body parts.
Add texture by mixing in yellow and brown paints, and using a thick amount of paint to get that paint texture coming through.
If you’d like to add extra detail, blend in some blue paint to the parts of the arms and legs that connect to the shell, to create some extra depth.
Step 4B: Optional Extra Shell Texture
Using a dark brown or dark green paint, add some rocky texture to the edges of the turtle shell.
Step 5: Bubbles
There are two ways we can paint bubbles
Draw circles of varying sizes across the canvas, with thin, watery paint. Then, once this layer is dry, we can bring the bubbles to life by adding a thick dash of white over these circles.
To create the small dots, use the very back of your paintbrush to stamp perfect circles.
Dont forget the bubbles can overlap the turtle and go off the edge. Sneakily, if there’s anything you don’t love about your painting, we might be able to cover it with a bubble :)
Step 6: Sign your masterpiece
The final touch—sign your work! Every artist deserves to claim their fabulous creation, and that includes you!
Thank you for joining us today at Josie's Paint and Sip!
Don't forget to share your masterpiece on social media and tag us @JosiesPaintAndSip.
We look forward to seeing you again for more fun-filled painting sessions :)
Glamorously yours,
Josie 🎨


